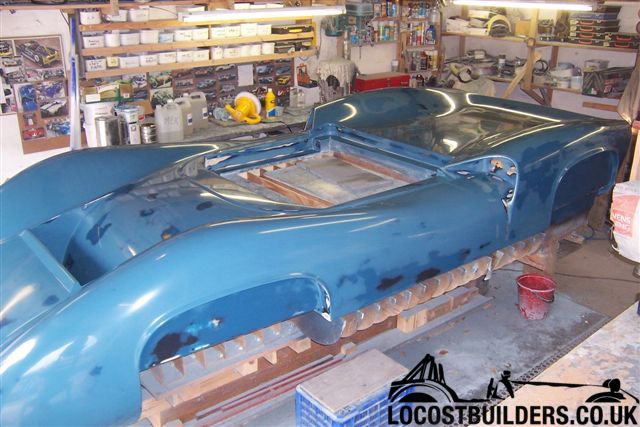
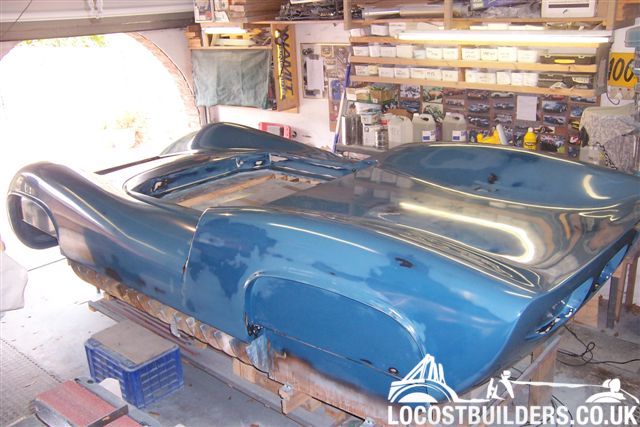
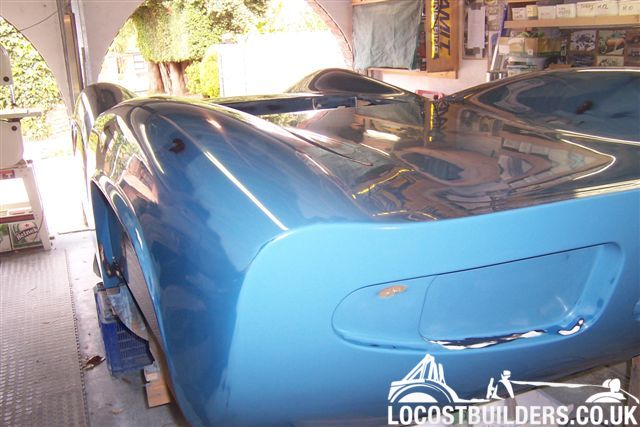
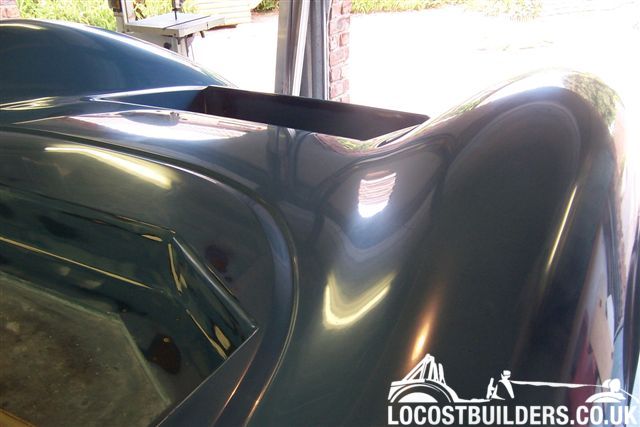
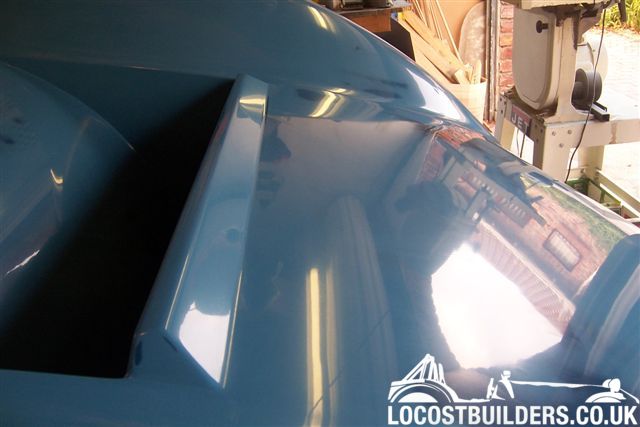
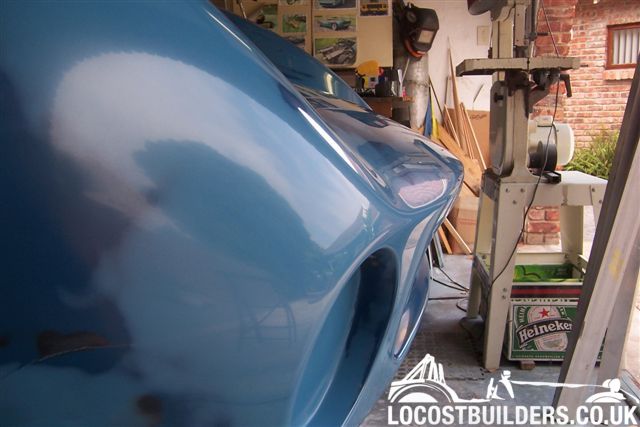
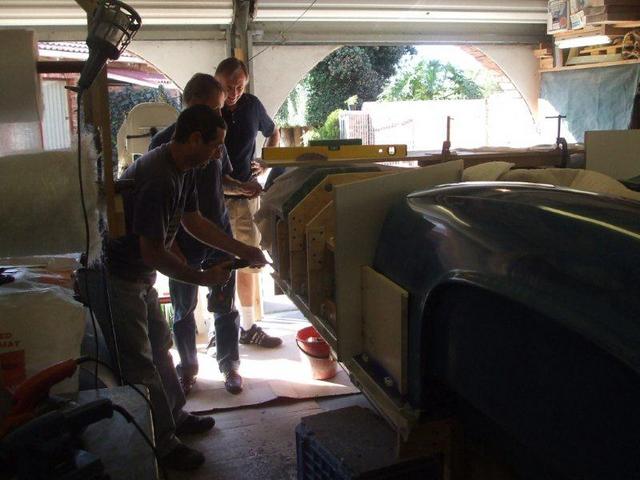
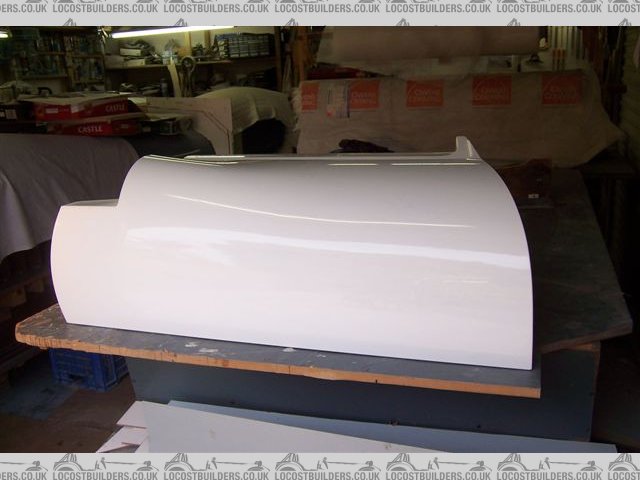
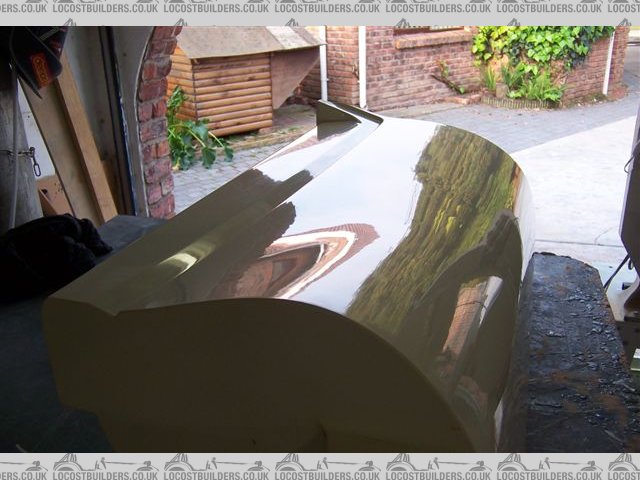
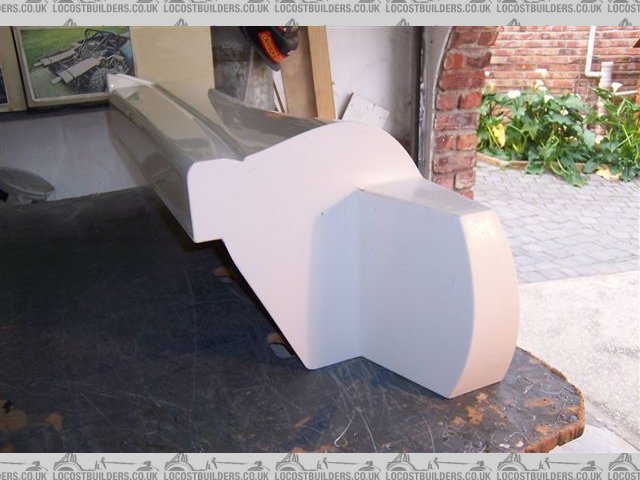
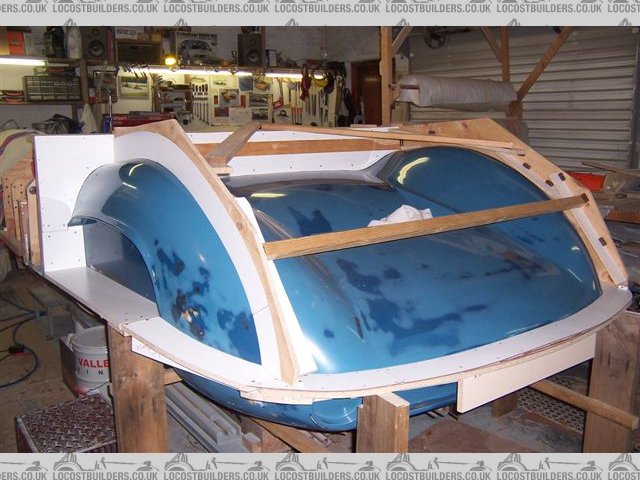
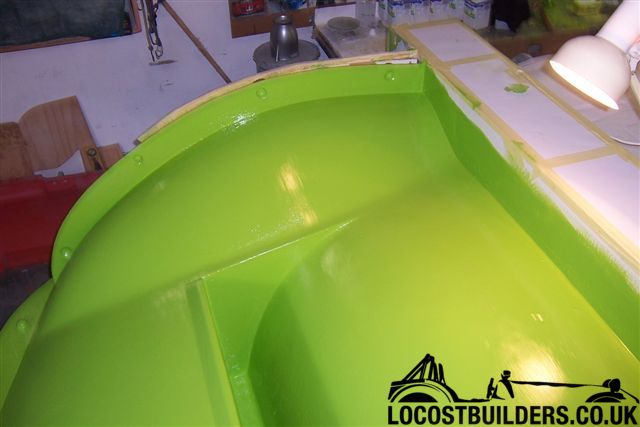
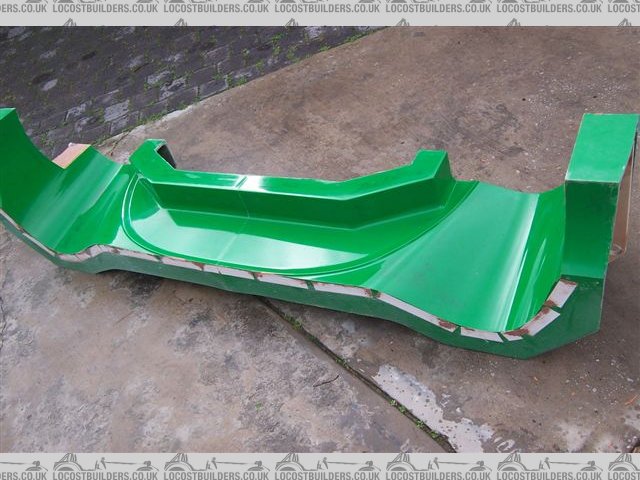
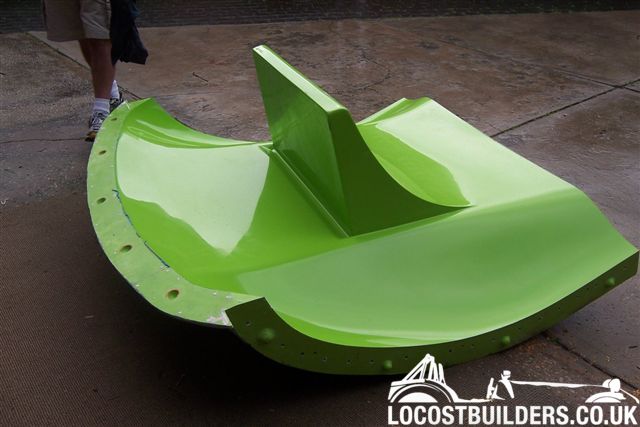
Finally the body pattern is finished!
The time since the last update has been occupied by:
Finishing off edges and radiuses.
Checking and ensuring symmetry on left and right hand sides in some areas with the aid of templates and levels.
Sanding the last paint guide coat over the body filler back with 120 grit.
Applying coat one of the Durabuild surfacer primer.
Sanding with 240 grit.
Applying coat two of the Durabuild surfacer primer.
Sanding with 240 grit.
Applying coat three of the Durabuild surfacer primer.
Sanding with 240 grit.
Sanding with 380 grit.
Sanding with 600 grit.
Sanding with 800 grit.
Sanding with 1200 grit.
Polishing with coarse cutting paste.
Polishing with fine cutting paste.
As the gloss comes up as you polish you see some areas where the 1200 has not taken previous grit scratches out so I have to go back to 1200 grit and then polish again etc, etc.
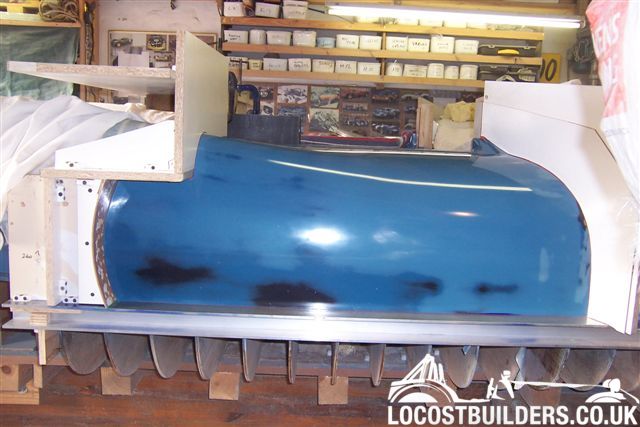
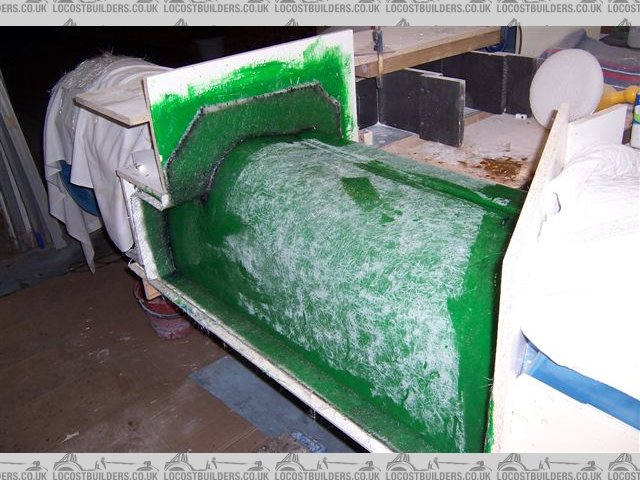
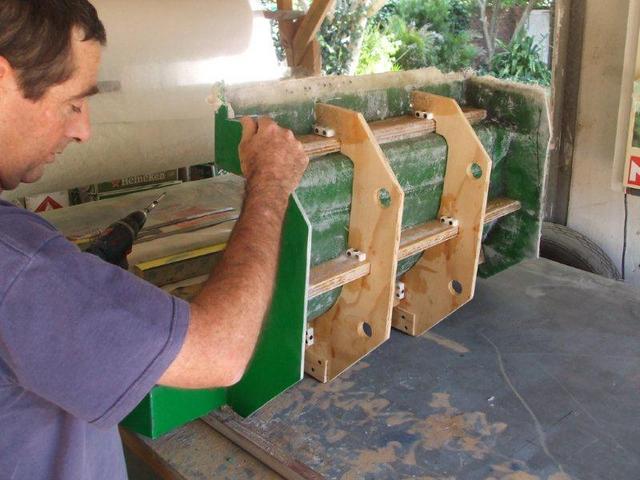
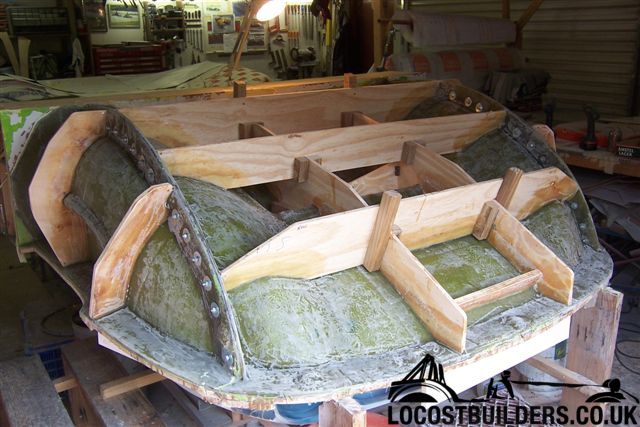
Next time I work on the car, which will be in a couple of weeks time, I will start with the marking out for and making the parting fences for the moulds.
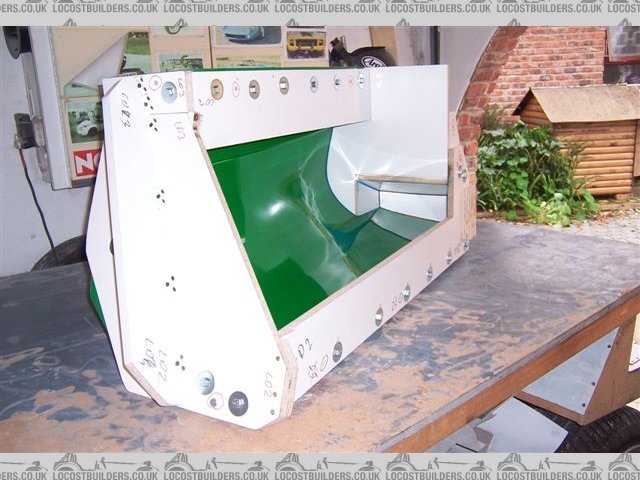
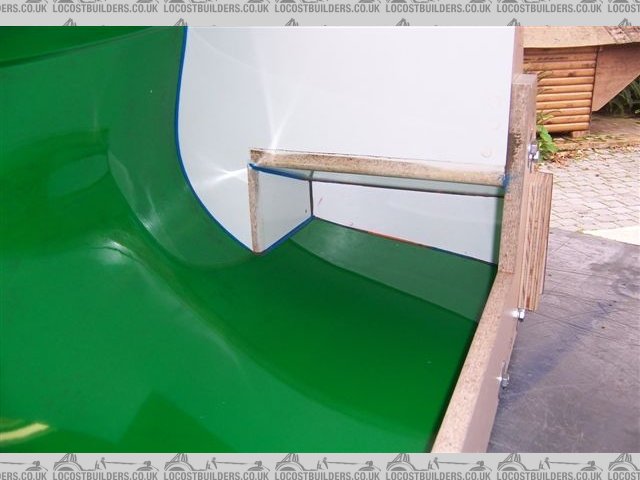
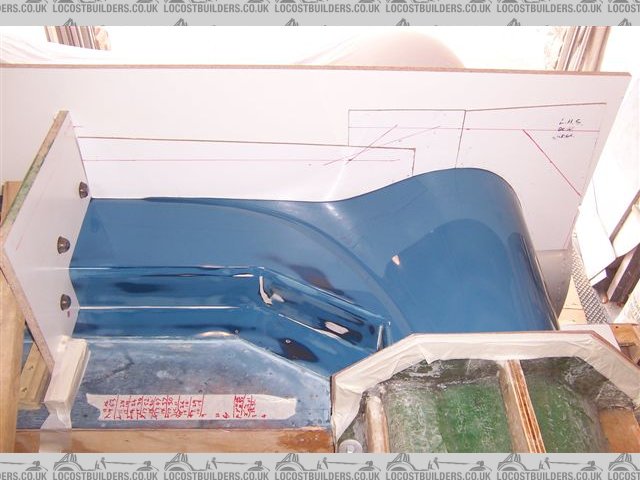
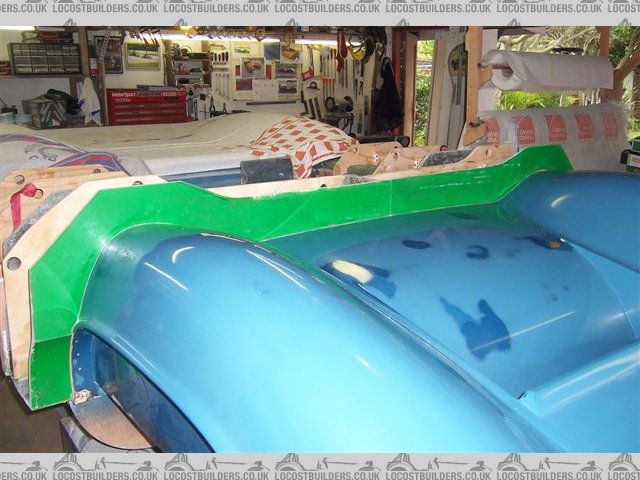
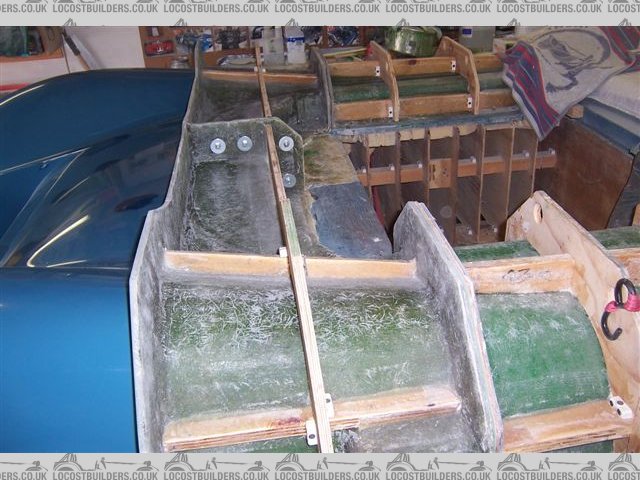
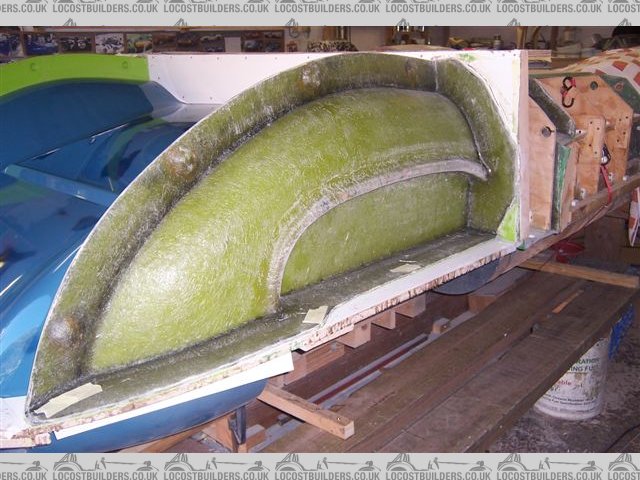
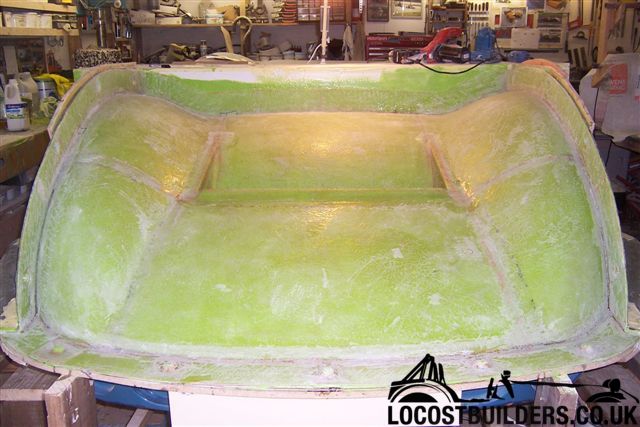
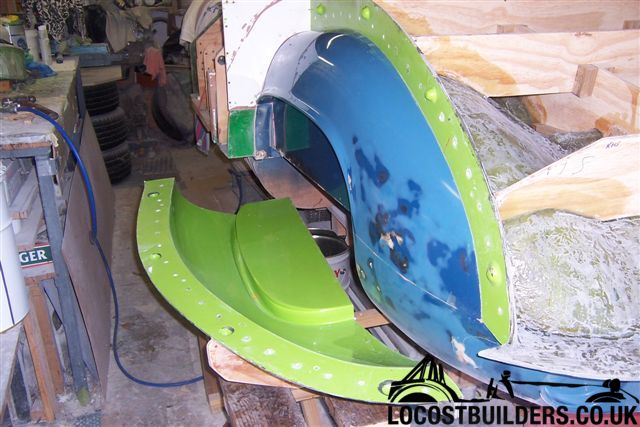
I include some gratuitous photos. It looks a bit tatty with the three different colours showing but in hindsight it was very helpful that I pigmented the first coat of surfacer primer black, the second dark blue and the third light blue. As you sand back you can see where you are, when you get to the black layer you stop! This was a pure fluke, due only to the pigments my supplier had in stock at the time and not some clever pre planning on my part.
Cheers
Fred W B